
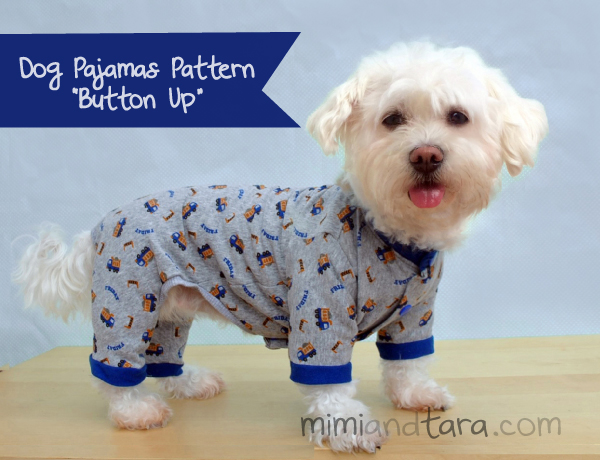
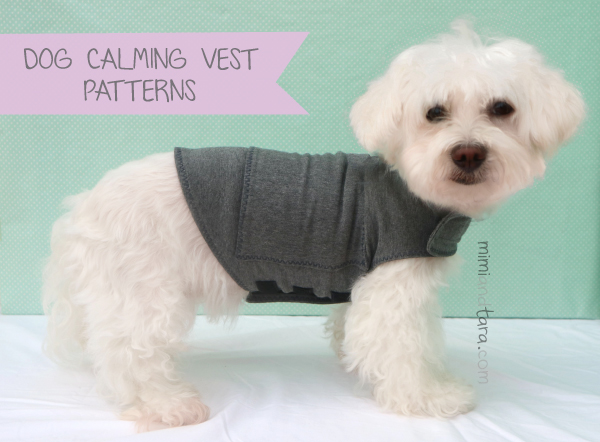
Pets Pajamas – Button Up pattern
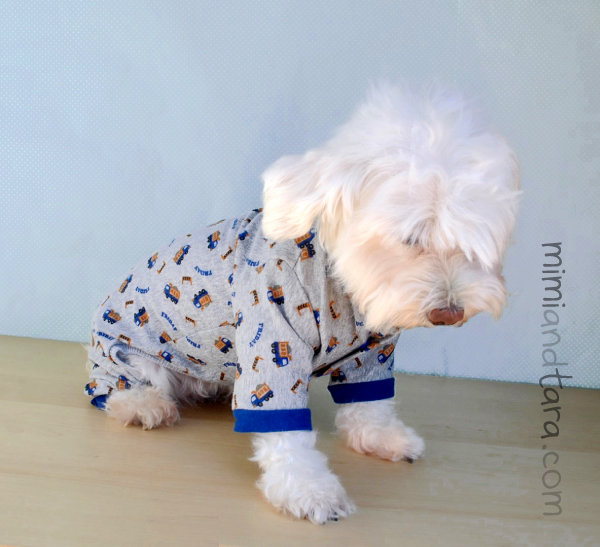
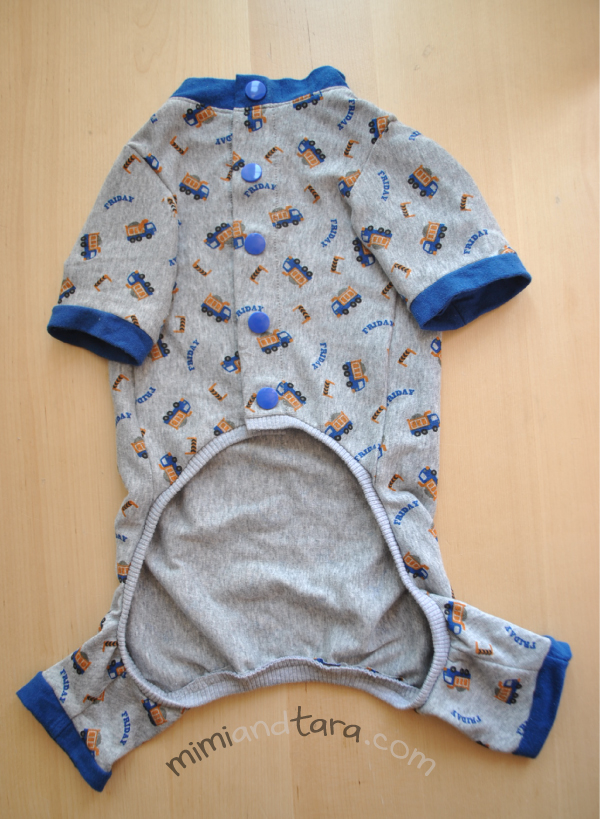
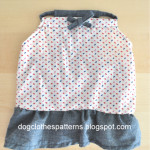
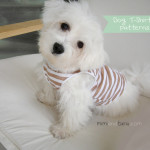
Hello friends! hope you are well! Today I bring you a new version of the basic dog pajamas. This is the button up pets pajamas. This new version has the front buttoned as you can see in the image. Is the perfect dog pj for a funny sleepover night. Don’t you think?!
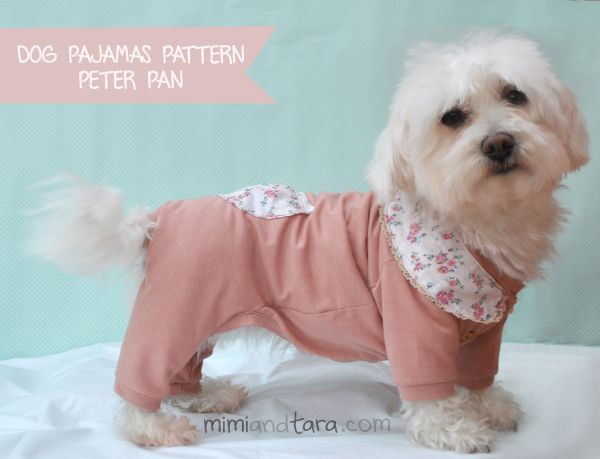
This model looks great on mischievous and restless male dogs since for the girls we already have the Peter Pan pajamas, more girly.
Buy this pattern in my shop using PayPal.


If you prefer, buy this pattern from my Etsy shop. ![]()
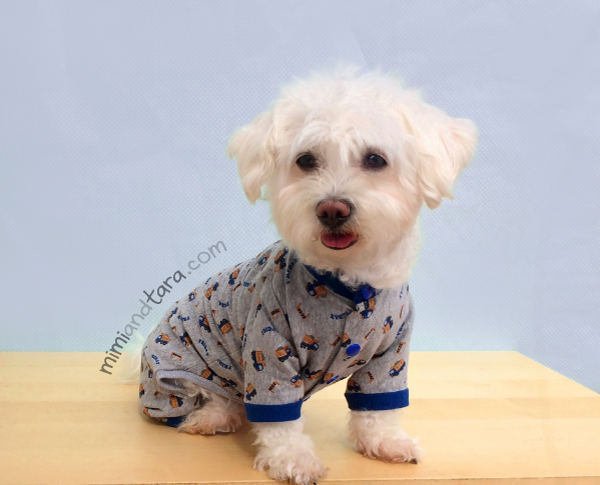
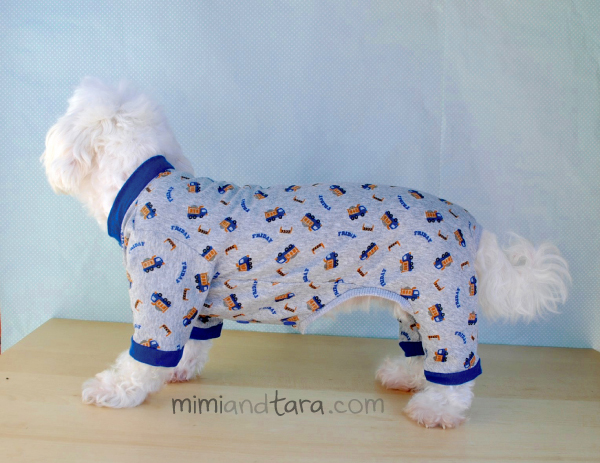
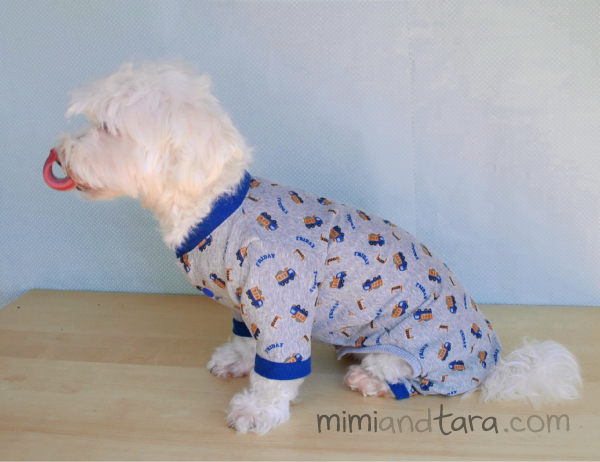
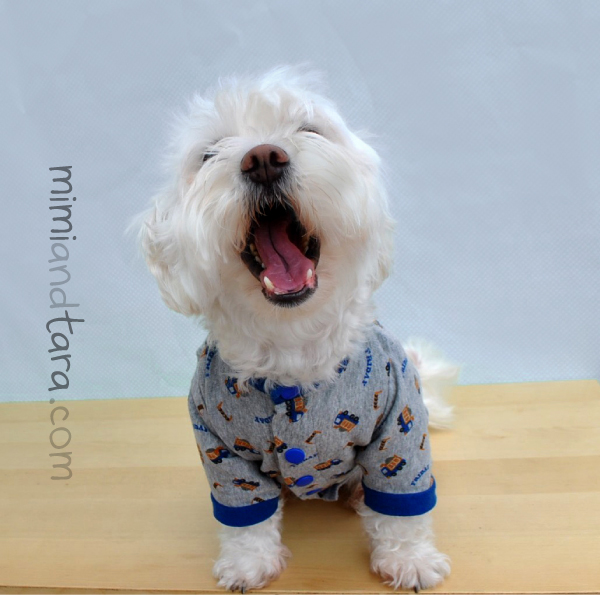
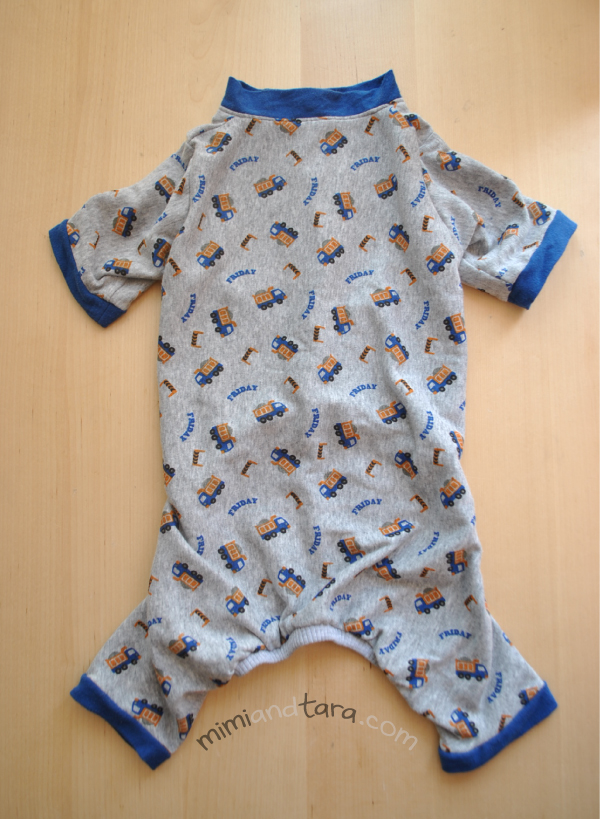
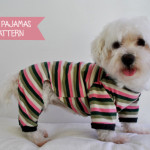
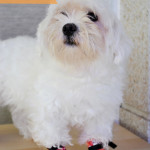
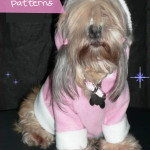
Here are some pictures of Tara wearing her pets pajamas…
Materials recommended to make this pets pajamas are fleece or stretch jersey knits. I like a 95% cotton/5% lycra blend.
To make this pets pajamas I recommend to use fabrics with funny children elements like toys, cars, rockets, bears,dinosaurs, with the cuffs and neckband in solid colors like red, blue, green.
MODIFYING THE PATTERN:
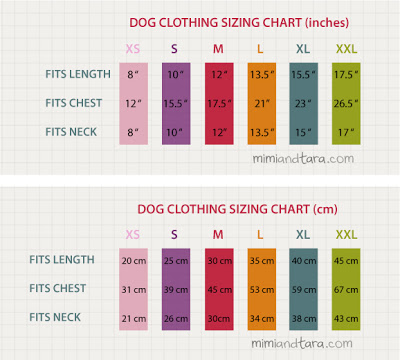
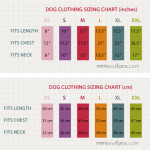
Please note that the six sizes are standard and in some cases you will need to modify a little the pattern according to the measures of your dog.
Making a dog pajamas is especially complex because it must perfectly match the body length and chest girth in each particular dog and of course not all dogs have the same proportions. Some breeds of dogs are short, broad and burly, some are thinner and longer, others have short legs like my Tara and others very long.
As an example I will tell you that Tara’s measurements match perfectly with size M in terms of neck and chest girth but is slightly longer, so I had to add a few cm on the body length to her pets pajamas pattern respect to the original M size.
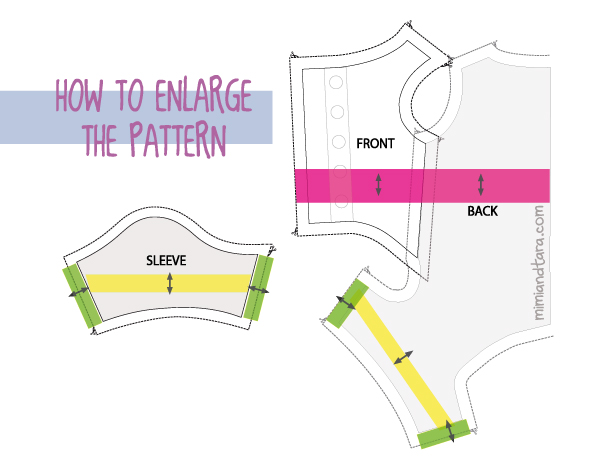
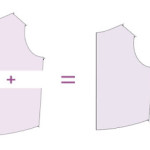
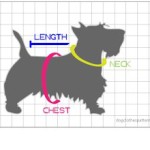
So here I leave you a graphic scheme that will help you in case that you need to enlarge the pattern, then you will know where you have to increase the pattern but still keeping the original shape.
Remember that the chest girth measurement is the most important, always choose the size according to this measure!
and then lengthen the pattern if needed:
Pink: If the length of the body is too short then you have to add a few inches/cm in the pink zone.
Yellow: If the sleeves or legs are too short add a few inches/cm in the yellow zone
Green: If the sleeves or legs are too narrow add a few inches/cm in the green zone.
If you have to make a smaller pattern you can simply make the seams or hems wider than seam allowance indicated in the pattern or you can also cut the pattern a few inches/cm all around before sewing.
I always recommend to test first with paper and check all is in the correct size before cutting the fabric.
The patterns to make this pets pajamas are: front, back, sleeve, neckband, cuff.
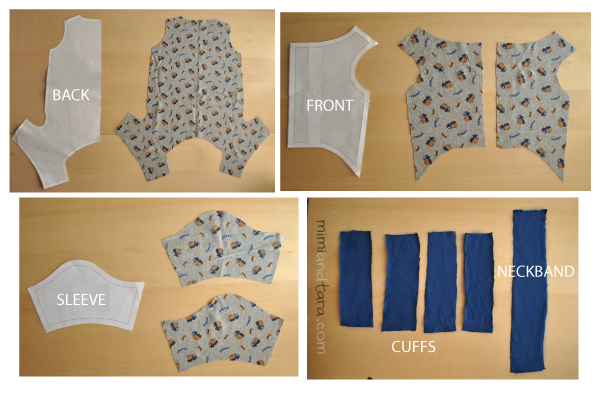
FRONT: cut 2 opposite or mirror pieces, you can cut it with right sides facing together.
BACK: cut this pattern with the fabric folded in half
SLEEVE: cut 2 opposite or mirror pieces, you can cut it with right sides facing together. Like this, you will get the right sleeve and the left.
NECKBAND: cut this pattern with the fabric folded in half
CUFF: cut 4
At the end of this post I will show you how to sew the pets pajamas cuffs and neckband
PURCHASE THIS PREMIUM PATTERN BELOW:
Buy this pattern in my shop using PayPal.
If you prefer, buy this pattern from my Etsy shop. ![]()
HOW TO SEW THE PETS PAJAMAS STEP BY STEP:
Once we’ve already cut out all the patterns we can start sewing the dog pajamas.
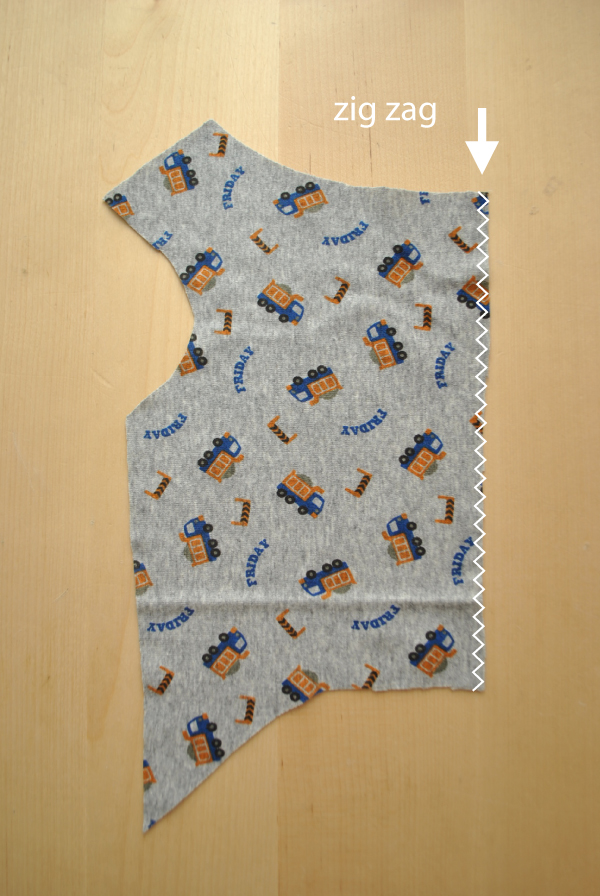
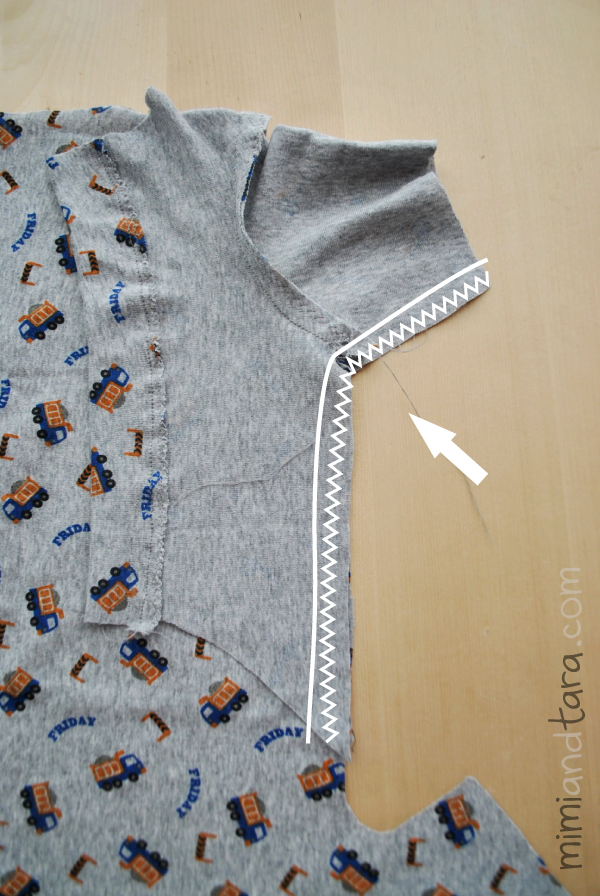
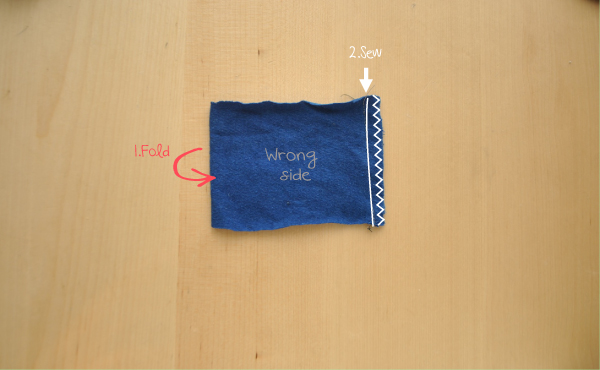
SEWING THE PLACKET: first secure with a zig zag stitch the raw edge of the front pieces.
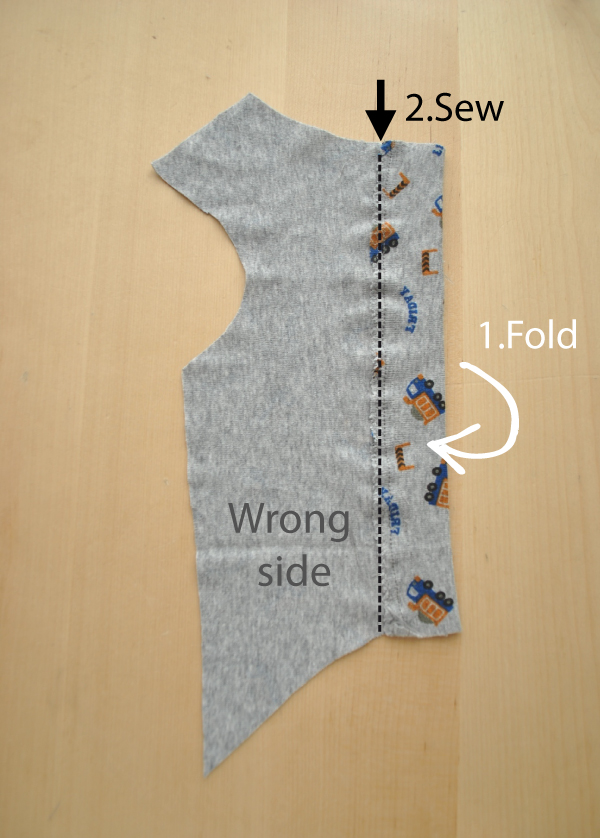
Now fold the placket inwards (with wrong sides facing together)(nº1), and overstitch the inner seam of the placket (nº2)
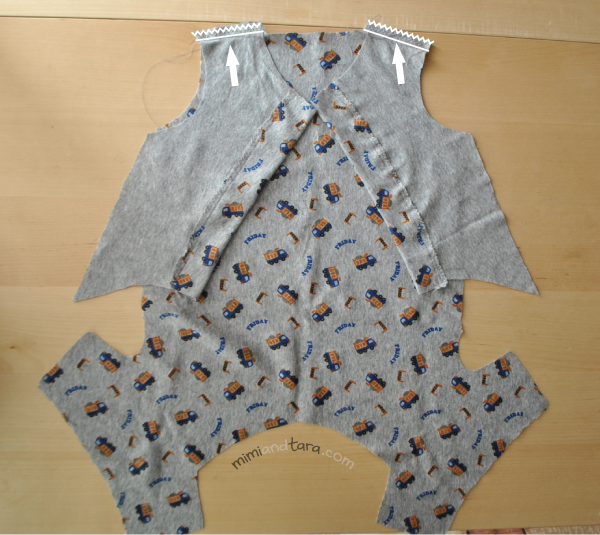
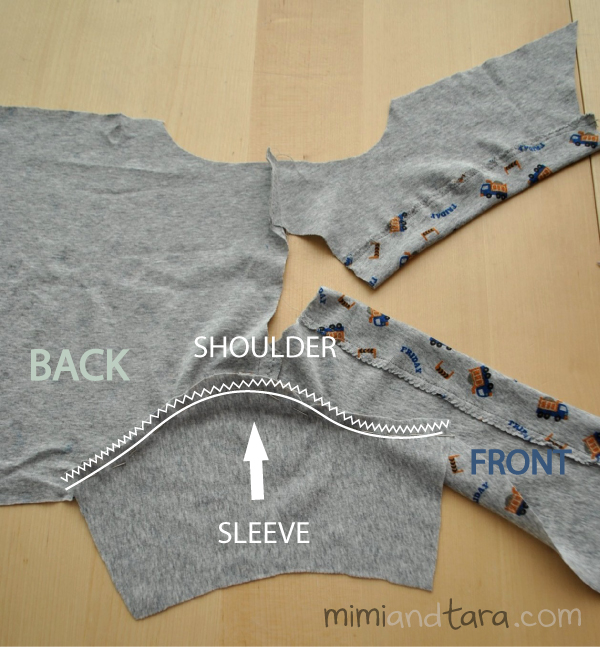
SEWING SHOULDERS SEAMS: Place the “Front” and “Back” pieces with right sides facing together. Sew at shoulders and finish with a zig zag to prevent fraying. Do NOT sew down the sides of the pajamas yet.
ATTACHING THE SLEEVES: Now attach the sleeves to the bodice. Place the sleeve and bodice with right sides of the fabric facing together. First assemble the sleeves with pins all around the armhole curve starting at the center of the shoulder and working outwards. Make sure both pieces match up and sew. Overlock or zig zag this seam to ensure no fraying.Trim the excess seam allowances.
SEWING SIDE SEAM: The next step is to sew the sleeve seam and the bodice side seam and all in one seam.
With the sleeve folded in half on top pin the sleeves and side seams together. Make sure you match the underarm seam lines.
Sew the sleeves starting from the wrist all the way down, around the armpit, and down the entire side of the pajamas and zig zag stitch.
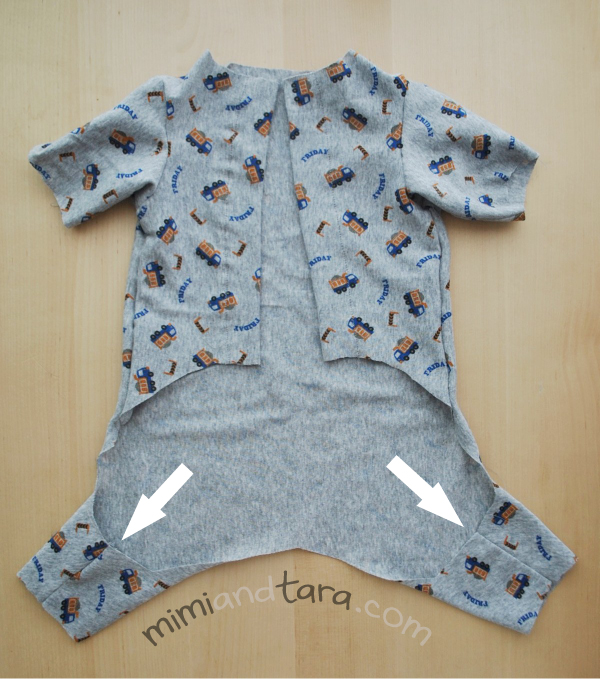
SEWING HIND LEGS: Continue sewing the hind legs seams.
Now sew the neckband and cuffs.
HOW TO SEW THE NECKBAND AND CUFFS
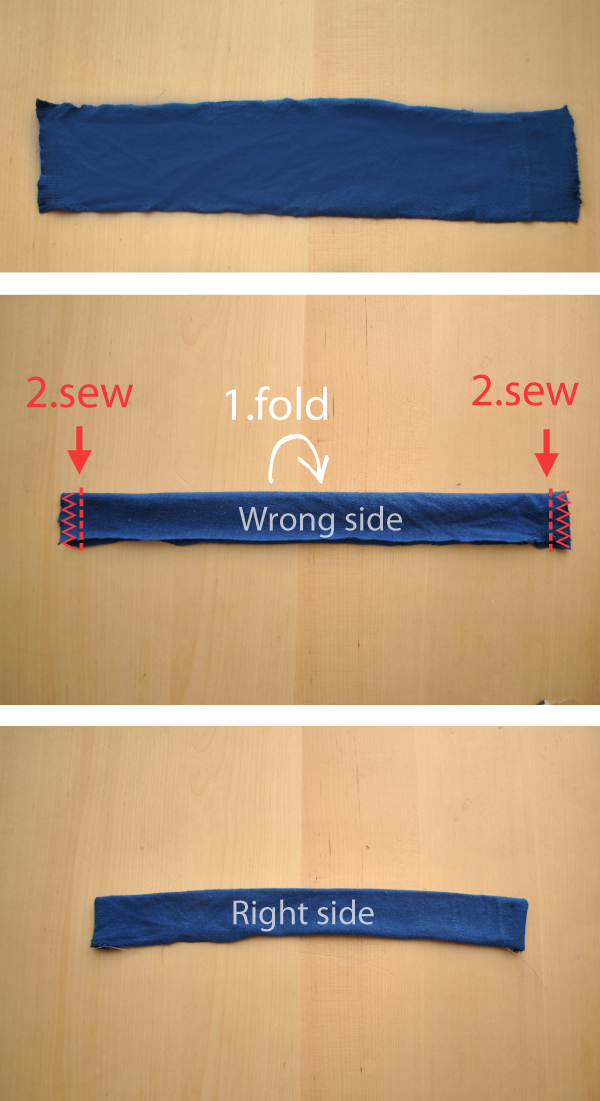
SEWING THE NECKBAND: First fold the neckband strip lengthwise, with right sides facing together and sew a seam on the ends by the seam allowance. Turn the strip right side out.
Place the neckband all along the neckline and pin.
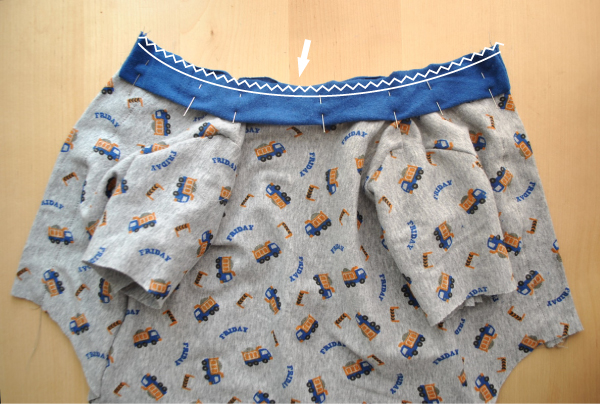
Sew the neckband all around the neckline and finish the edge with a zig zag stitch. It will look like this:
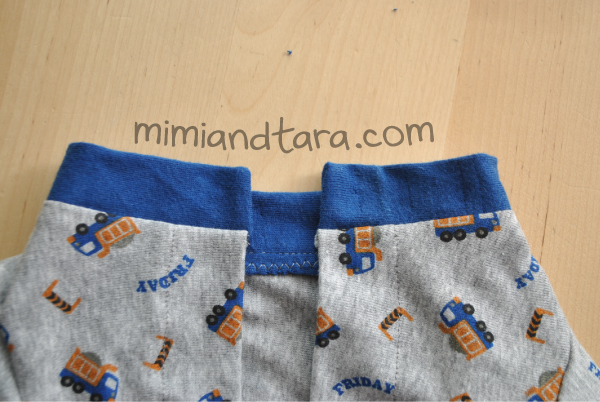
Overstitch the neckline seam to flat.

SEWING THE CUFFS:
This is how I’ve sewn the cuffs:
Place the cuff pattern over the fabric and cut out the cuff strip.
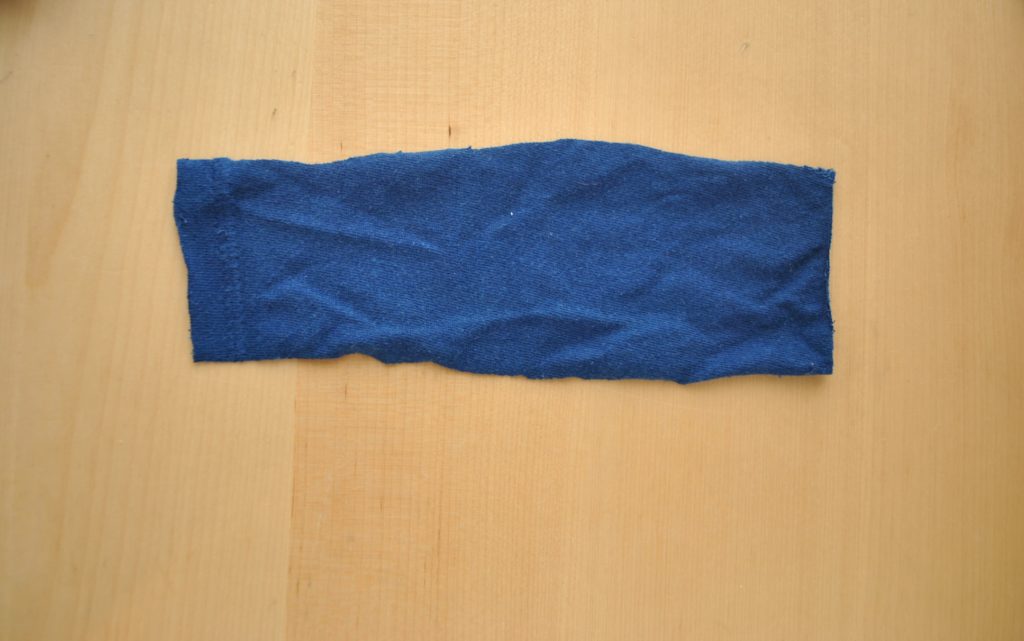
Fold the strip widthwise, with right sides facing together and sew a seam at the raw edge to make a closed circle (by the wrong side).
Now fold your cuff in half lengthwise (by the foldline on the pattern) with right side out like image below. I recommend ironing well this fold.

Try on your cuff. If it fits well, continue. Otherwise adjust as necessary.
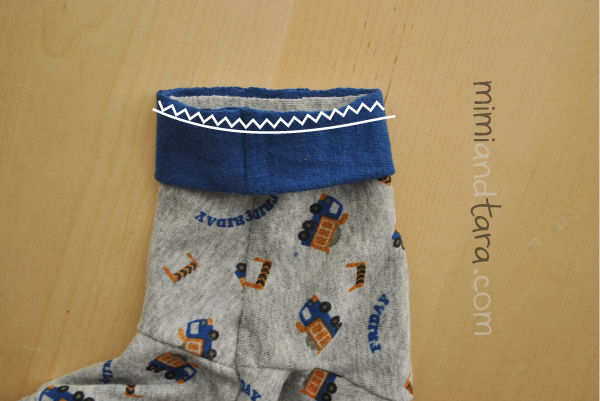
Place the folded cuff all around over the outside of the end of the sleeve as you can see in the image below. The folded edge of the cuff goes down toward the top of the sleeve (like a cuff that has been rolled up). Match the cuff raw edges with the sleeve raw edges and pin. Sew and finish with a zig zag stitch the edge seam to prevent fraying.
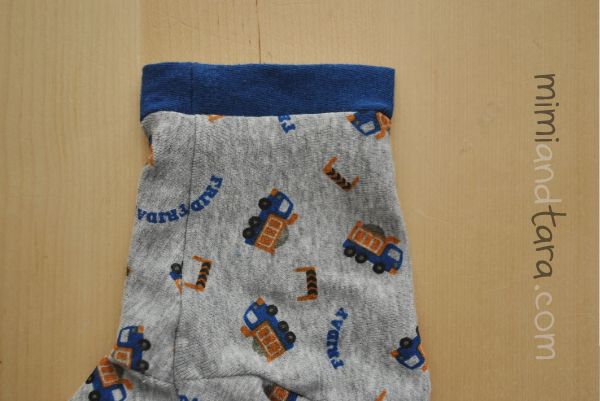
Roll out the cuff
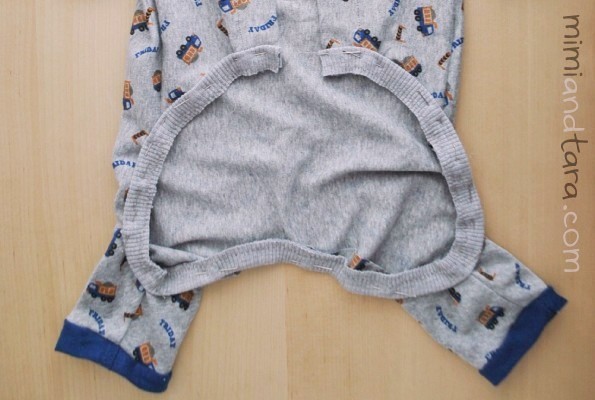
Add bias tape or elastic binding all around the belly hole. Please remember that your dog should be able to lie down and have complete freedom of movement when wearing the pets pajamas.
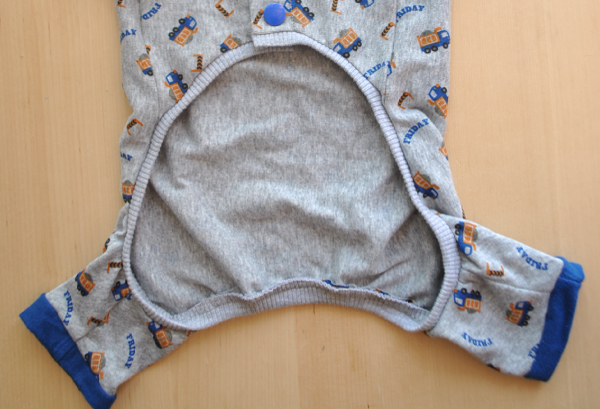
Finally sew the buttonholes and the buttons. I used snap buttons.
and you’re done!
PURCHASE THIS PREMIUM PATTERN BELOW:
Buy this pattern in my shop using PayPal.
If you prefer, buy this pattern from my Etsy shop. ![]()
Important: please read this before printing the patterns:
How to measure your dog for clothing
Dog clothing sizing chart
Tips for printing patterns


Comments are closed.