
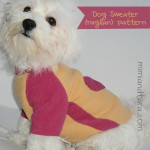
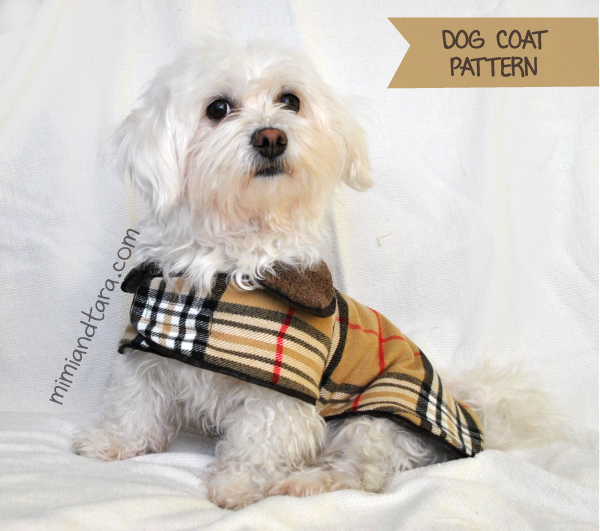
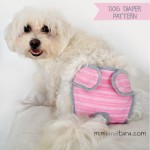
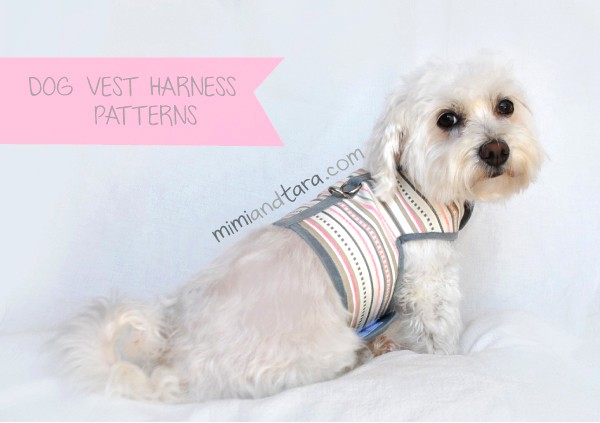
Dog Sweater Pattern
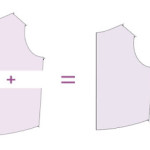
Welcome back, friends! Today, I’m excited to share a dog sweater pattern that’s easy to follow and fun to make. If you’re looking to create a stylish and comfortable sweater for your furry friend, you’re in the right place. This pattern is different from the previous ones, featuring a basic sleeve design that starts at the shoulder, unlike the raglan sleeve that begins at the neck.
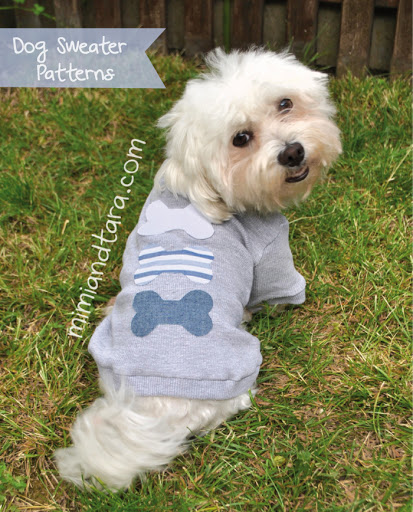
Since previous sweater pattern we made were with raglan sleeve now we gonna make a sweater with a basic sleeve which begins at the shoulder and not at the neck as in the case of raglan sleeve.
Buy this pattern in my shop using PayPal.


If you prefer, buy this pattern from my Etsy shop. ![]()


Upcycling Idea: Recycle Old T-Shirts
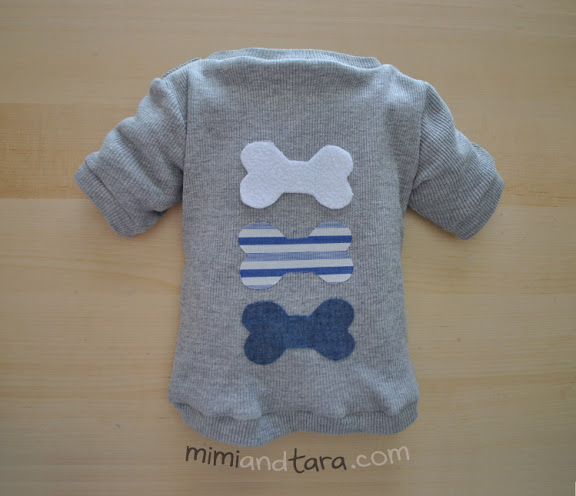
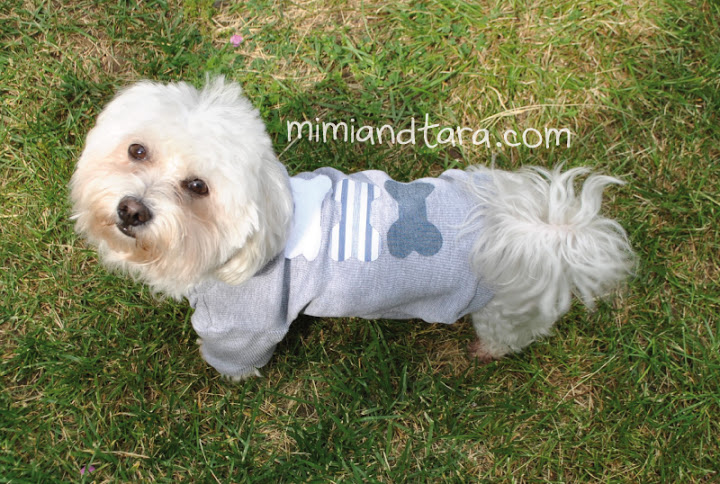
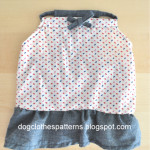
A great way to save and recycle is by using an old T-shirt to create this dog sweater. I repurposed one of my husband’s T-shirts, and the result was fantastic! Not only do you save on materials, but your pet gets a cozy, unique outfit. See below for the finished look.
Simple and Customizable Dog Sweater Design
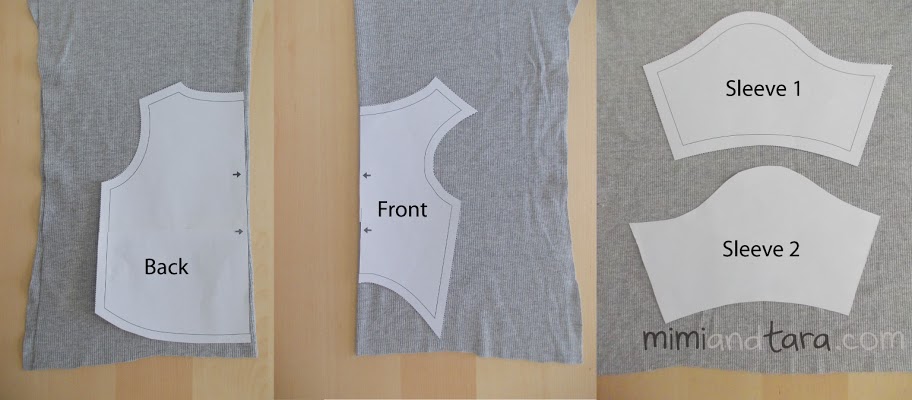
This dog sweater pattern is incredibly versatile and can serve as a base for other designs. Here’s what you’ll need to make:
1. Front (Chest Area)
2. Back
3. Sleeve
4. Neckband
5. Cuff
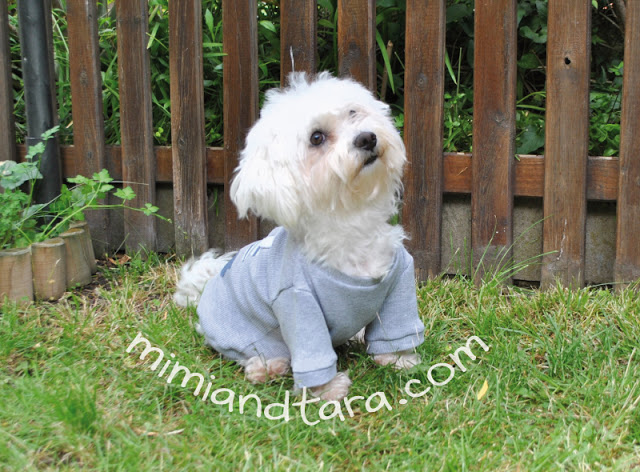
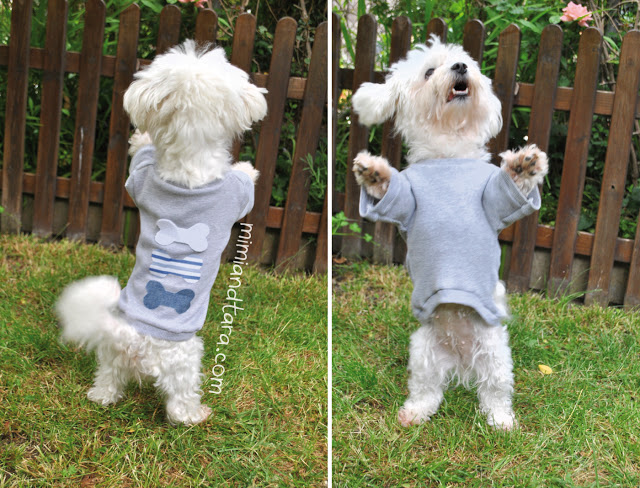
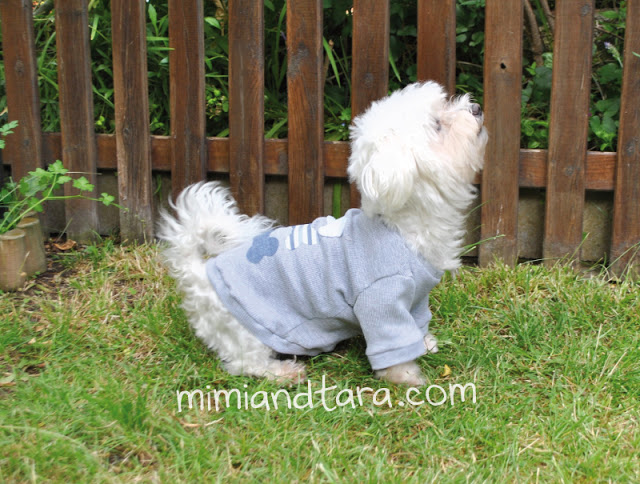
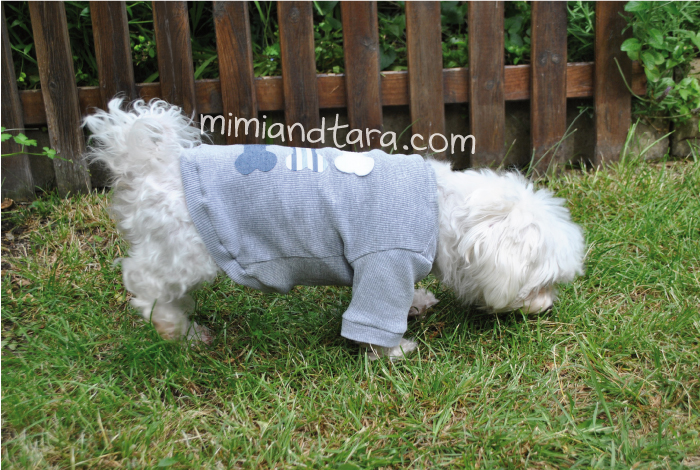
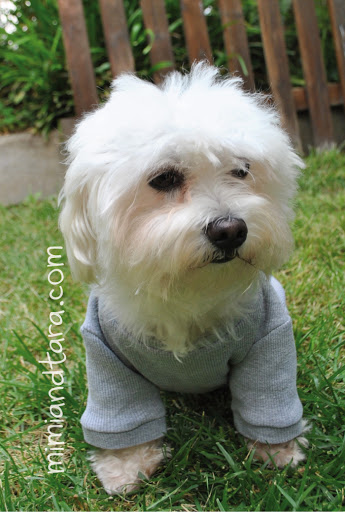
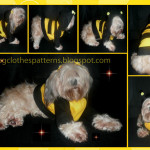
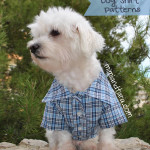
Tara wears M size and she is having fun in the garden!
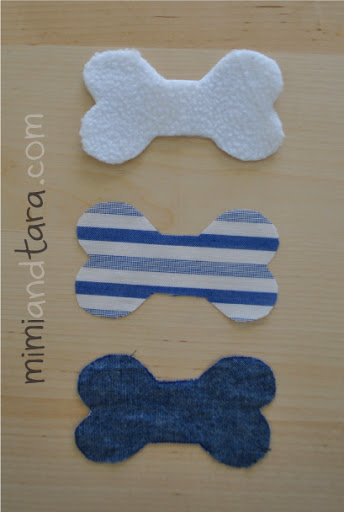
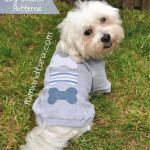
Optional Bone Applique
Want to add a cute touch? You can also include a bone applique with the included PDF pattern. This applique can be sewn or stuck onto the sweater without any sewing! Plus, the bone pattern can be used to create toys or cushions for your pet. Multiple sizes are available, so choose the one that fits your design best.
Customization Options
Feel free to modify the pattern to create different looks:
– Add a hood to make a dog hoodie (skip the neckband if adding a hood).
– Use thinner fabric to make a T-shirt with sleeves, perfect for warmer days. Just add a neck strip and hem the sleeves and bottom.
Recommended Fabrics for Dog Sweaters
To ensure the sweater fits comfortably over your dog’s head, we recommend using stretchy fabrics like fleece, knitted fabrics, or thick jersey. For a lighter T-shirt, go for thinner jersey fabrics (like T-shirt fabric). Always opt for cotton fabrics to keep your pet comfy!
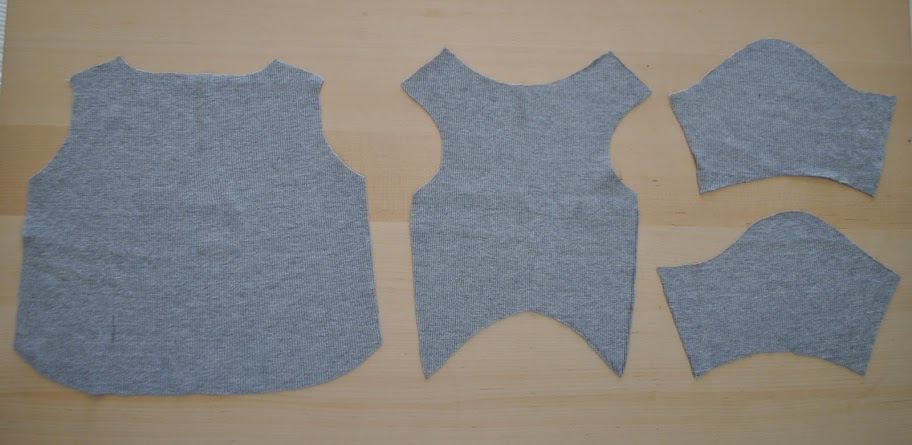
Cutting the Dog Sweater Pattern
Follow these steps to cut the fabric pieces:
– Front: Cut with fabric folded in half.
– Back: Cut with fabric folded in half.
– Sleeves: Cut two pieces, making sure to cut opposites (right and left).
– Neckband: Cut with fabric folded in half.
– Cuffs: Cut two pieces.
Once we’ve already cut out all the patterns we can start sewing.
PURCHASE THIS PREMIUM PATTERN BELOW:
Buy this pattern in my shop using PayPal.
If you prefer, buy this pattern from my Etsy shop. ![]()
How to Sew the Dog Sweater: Step-by-Step Instructions
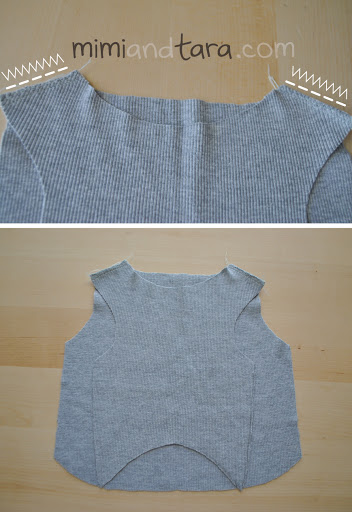
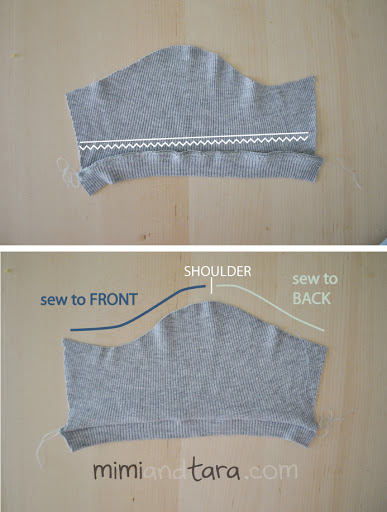
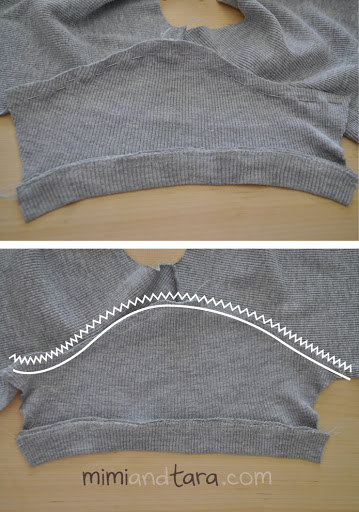
Sew the Shoulder Seams: Place the front and back pieces together, right sides facing, and sew at the shoulders. Use a zigzag stitch to prevent fraying.
Prepare the Sleeves: Sew the cuffs onto the sleeves before attaching the sleeves to the bodice. You can also fold the sleeve ends outward and stitch to create a simple hem.
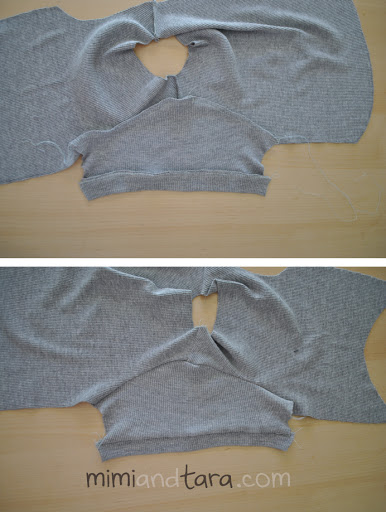
Attach the Sleeves: Pin the sleeves to the armholes, matching the center of the shoulder. Sew around the armhole and use a zigzag or overlock stitch to prevent fraying.
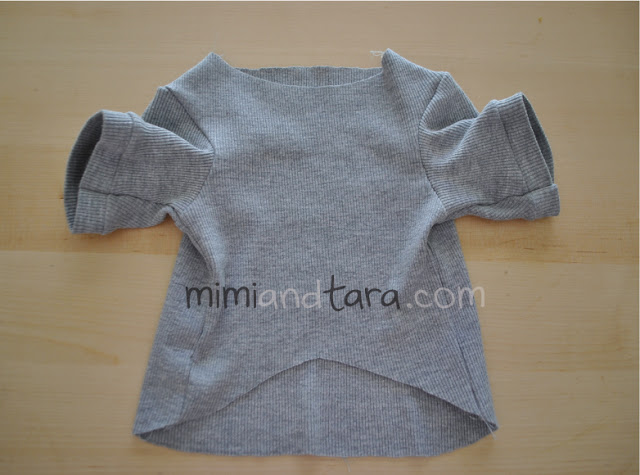
When you’re done it should look like this.
Sew the Side Seams: Fold the sleeves in half and sew from the cuff, through the armpit, and down the sides of the sweater.
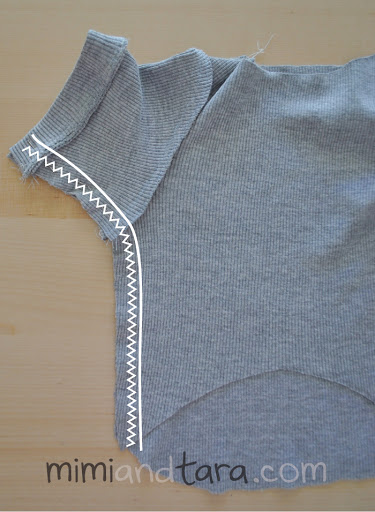
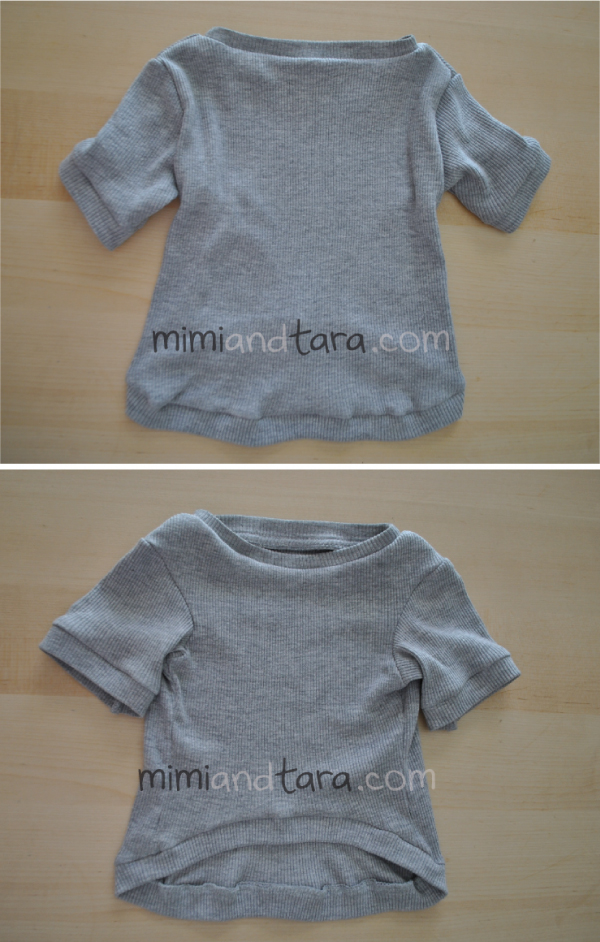
Repeat the same with the other side seam and turn right side out. It should look like this
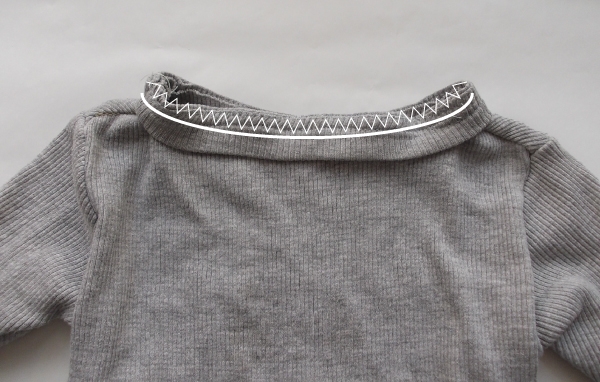
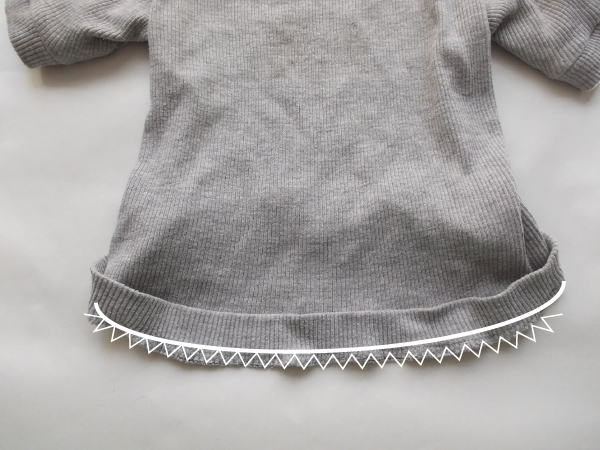
Attach the Neckband and Bottom Band: Sew the neckband and bottom band onto the sweater, finishing both with a zigzag stitch.
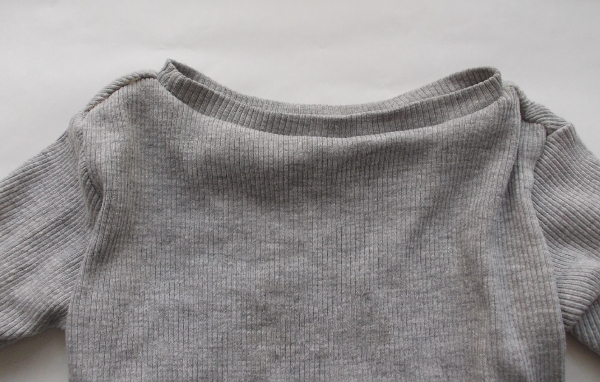
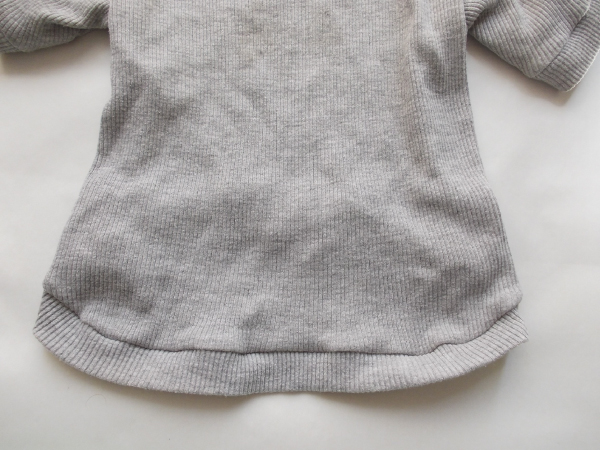
Finished dog sweater:
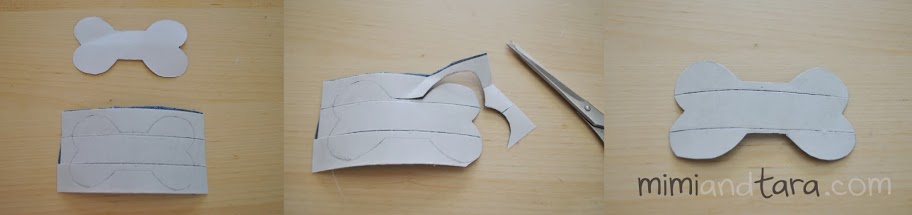
Adding the Bone Applique
To add the bone applique without sewing, follow these simple steps:
Download the bone pattern.
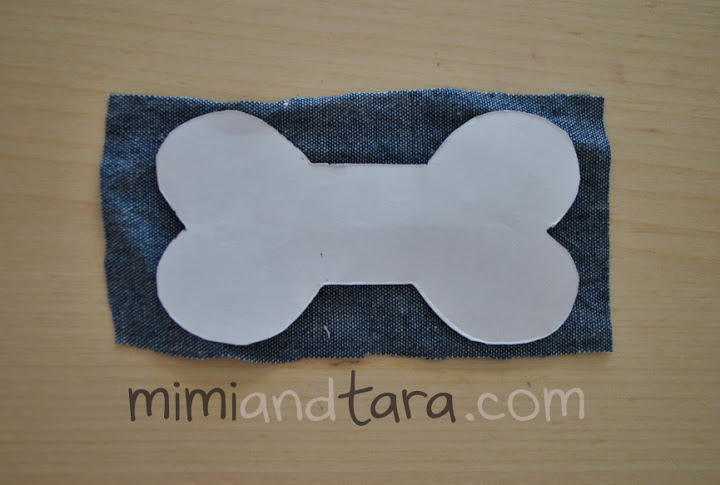
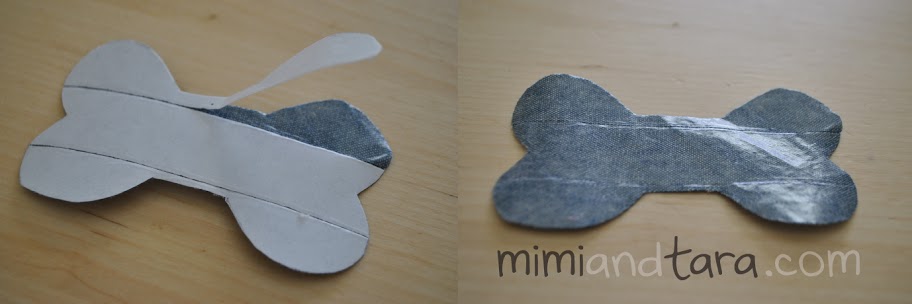
Cover the wrong side of the fabric with double-sided tape.
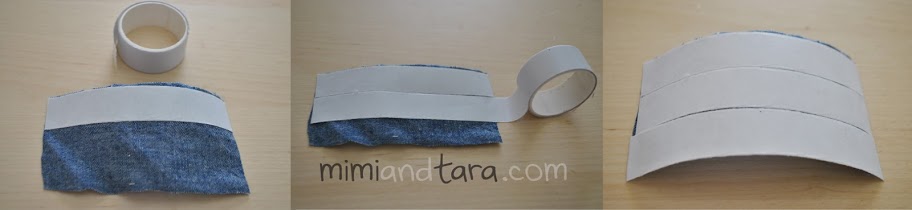
Trace the bone pattern onto the fabric, cut it out, and stick it onto the sweater.
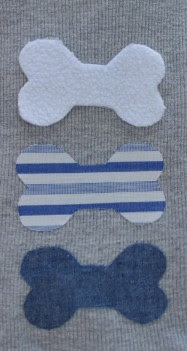
And you’re done!!
PURCHASE THIS PREMIUM DOG SWEATER PATTERN BELOW:
Please note that the largest patterns are split into 2 or more pages,so you have to print and cut out and join them together (with glue or tape) to get the entire pattern.
Buy this pattern in my shop using PayPal.
If you prefer, buy this pattern from my Etsy shop. ![]()
Important: please read this before printing the patterns:
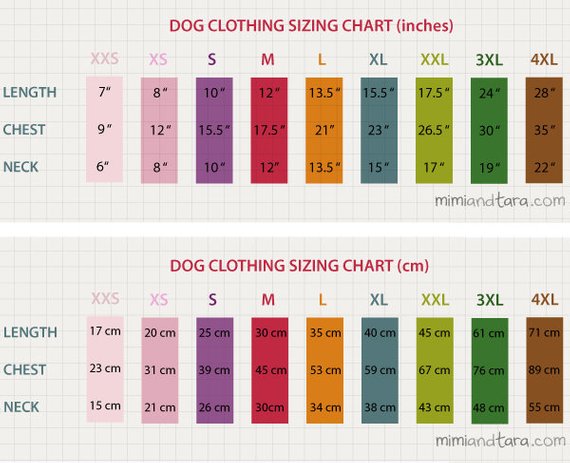
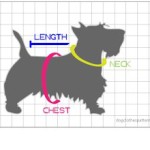
How to measure your dog for clothing
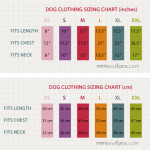
Dog clothing sizing chart
Tips for printing patterns
I hope you enjoy making this cozy and cute dog sweater! Don’t forget to check back for more designs and customization ideas. Happy sewing!


6 Comments
Hi ,
I love this site!
Do you know this Google already?
Google of Mimi and Tara
You can personalize it with a name you choose. With the same results of Google!
Use it as your homepage with your own name on it!
I search a lot of time for a sweater for my dog , and at this page i found all what i need.
thank you very much for this side and you do a good job with this side
미미, 감사합니다! (Korean)
= Mimi, thank you!
^0^
Thank you for your post & patterns what can be downloaded !!
I have a baby dog and his size is smaller than XS.
So, used 80% scale of XS pattern of above!!
Have a Great Day! 🙂
THANK YOU for this pattern and instructions….I made this tonight for my Shih Tzu…turned out perfect!!!
This is seriously one of the best sewing tutorial I've seen online, in general. The information is presented in an easy and fun way so that it doesn't intimidate a new seamstress. Lots of thanks for making this available to everyone!