
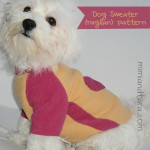
Dog harness pattern
Hi friends! Today I’m gonna share with you this useful and trending pattern, the dog harness pattern. This dog harness has been inspired by one of the best sellers on amazon, the “puppia” harness.
http://amzn.to/2hu0csk
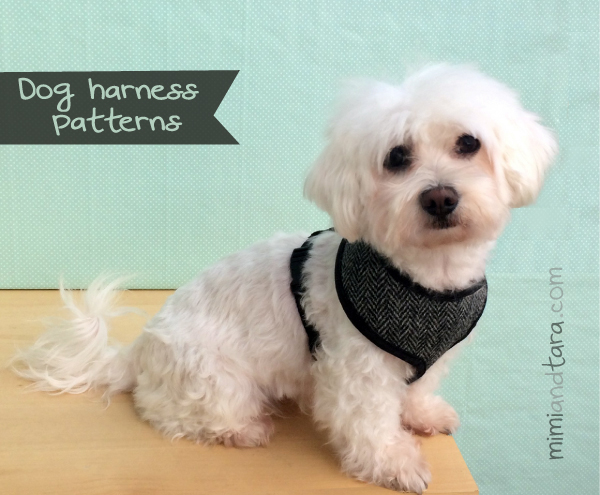
This model is more narrow than the previous dog vest harness that you can find here. It is more like a dog harness than a vest and it’s top trending now. This dog harness is not only cool, padded and comfy but also is a great option for a car harness.


If you prefer, buy this pattern from my Etsy shop. ![]()
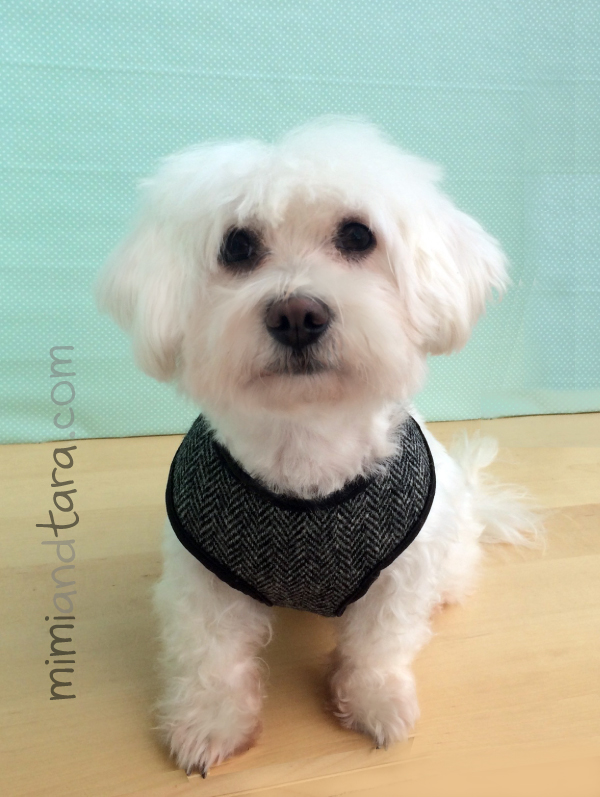
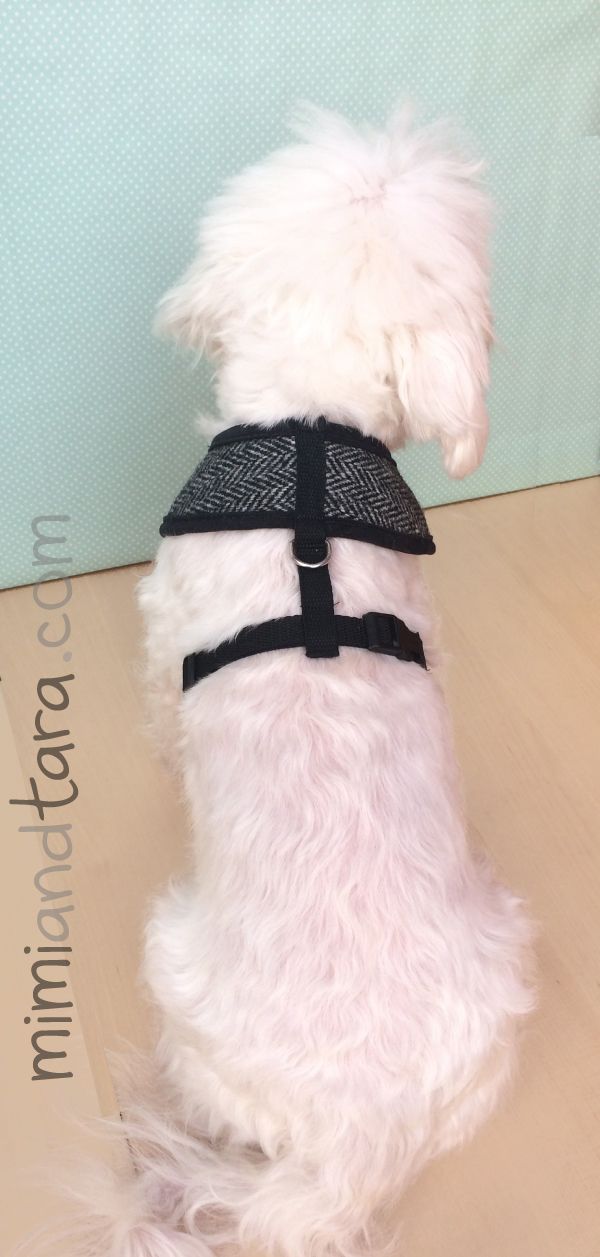
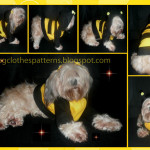
Here are some pictures of Tara wearing her Harris tweed dog harness:
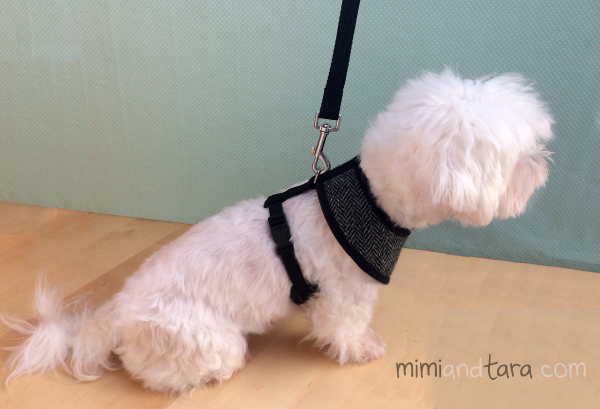
No-Choke harness!!
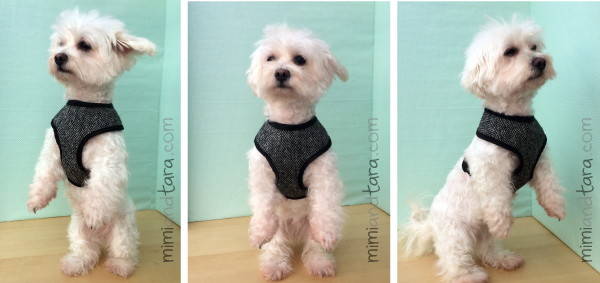
It’s soft padded and comfy for dogs!!

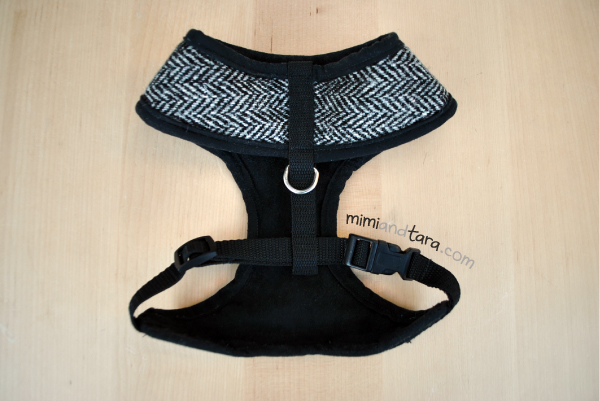
MATERIALS (more detailed info and fabric requirements in the Pdf tutorial)
Main fabric and lining fabric (optional: interfacing)
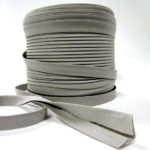
Double fold bias tape
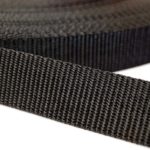
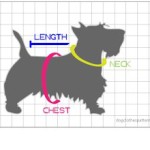
Polypropylene webbing (length: approx. twice the dog’s chest girth length)
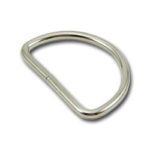
1 Metal D-Ring
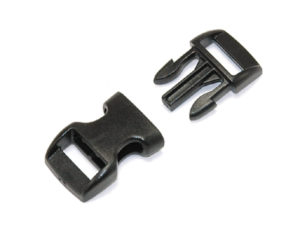
Curved side release buckle
Triglides (3 bar slide) buckle
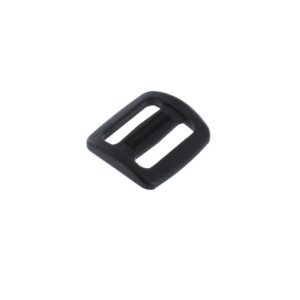
Note: the D-ring, the webbing, the 3 bar slide buckle and the curved side release buckle must be the same size.
RECOMMENDED FABRICS:
To make this harness you can use cotton, tweed or plaid fabric for the garment and cotton or fleece for the lining.
PRINTING THE PATTERNS:
Important! before printing, make sure you set “borderless” on print settings,
and do not check the box “print to scale”. This ensures patterns print at 100%
correct size.
Please note that the largest patterns are split into 2 or more pages, so you
have to print, cut out the parts and join them together (with glue or tape) to
get the entire pattern.
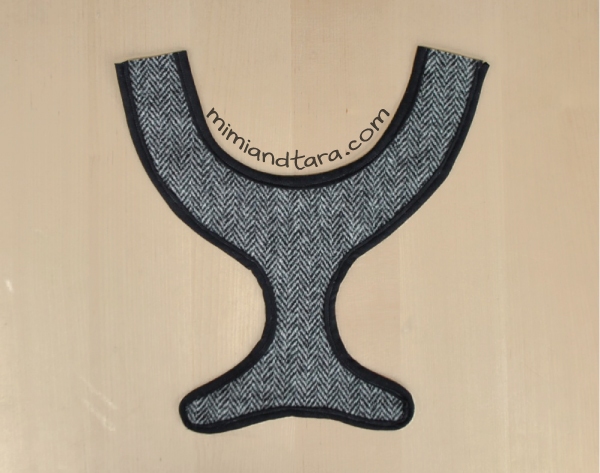
CUTTING THE PATTERNS:
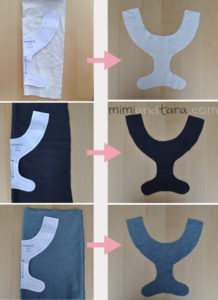
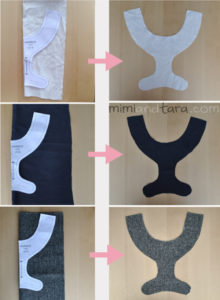
Please note that you have to cut the pattern with the fabric folded in half as indicated on the pattern.
Cut out three equal pieces of the pattern: one of outer fabric, one of
the lining fabric and optional one of interfacing.
PURCHASE THIS PREMIUM PATTERN BELOW:
If you prefer, buy this pattern from my Etsy shop. ![]()
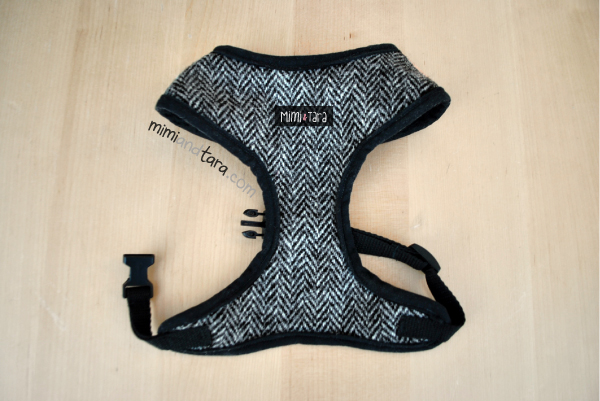
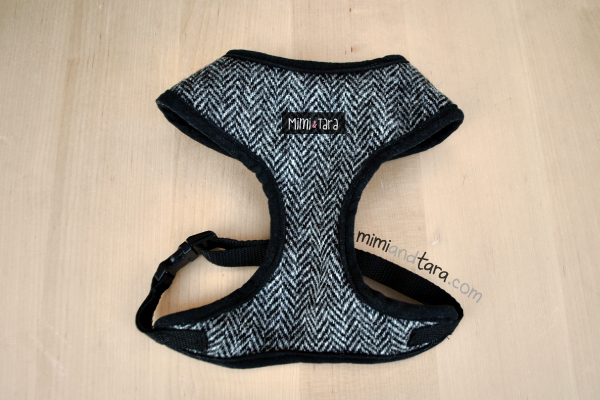
HOW TO SEW THE DOG HARNESS STEP BY STEP:
Method 1 (Without binding):
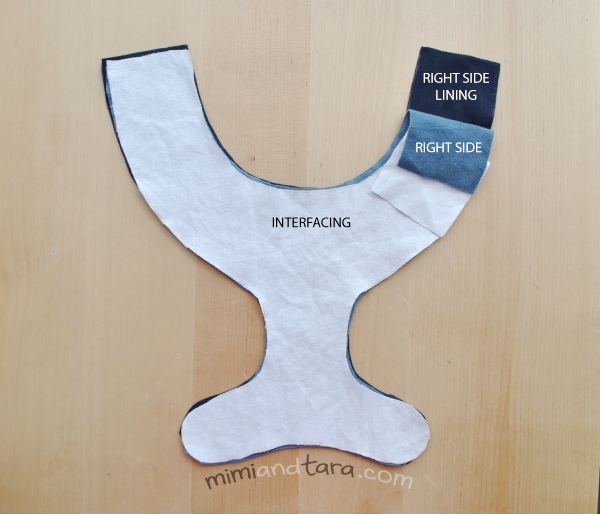
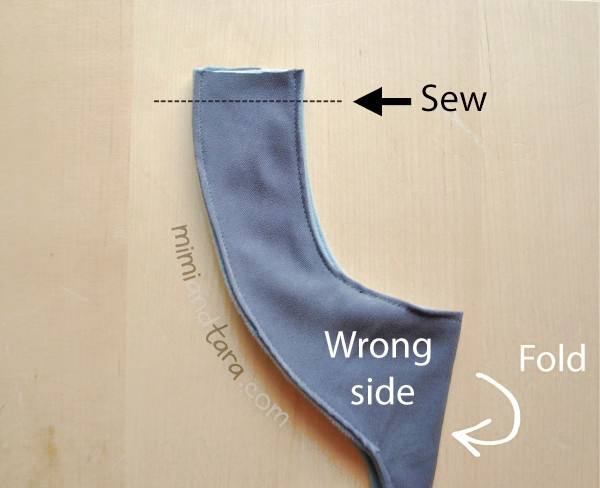
Place the outer fabric piece (GREY) and the lining fabric piece (BLACK) with RIGHT sides facing together. If you are using interfacing (WHITE) as I did, place it over the other two layers as you can see in the image below:
Now sew all around by the seam allowance leaving an opening for turning.
Cut off the excess seam allowance to avoid the seam to be bulky when turned. Clip inside curves, notch outside curves:

Turn right side out and press well, turning the opening under.

To close the gap edgestitch the opening and the rest of the harness too.
If you don’t want to edgestitch all the harness you can also close the gap sewing by hand.
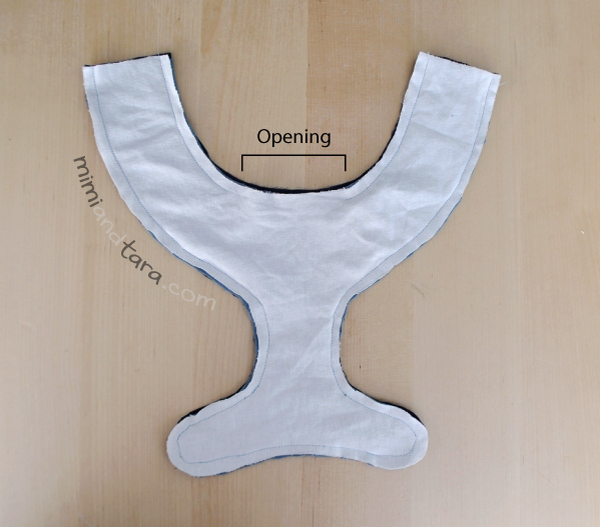
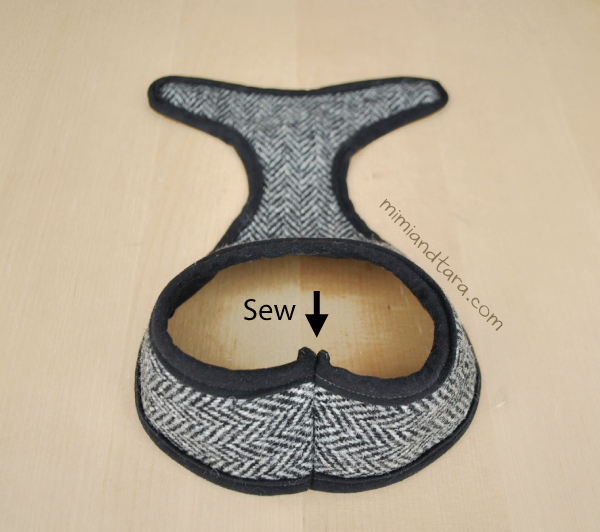
Try on the harness to check that the neckband length is ok for your dog
and sew the top ends together as you can see in the image below:
It will look like this:

Finally, attach the webbing as indicated in method 2.
Method 2 (With binding):
Cut out three equal pieces of the pattern: one of outer fabric, one of
the lining fabric and optional one of interfacing.
Now place the outer fabric (TWEED) and the lining piece (BLACK) with WRONG sides facing together. If you are using interfacing (WHITE) as I did, place it in between.
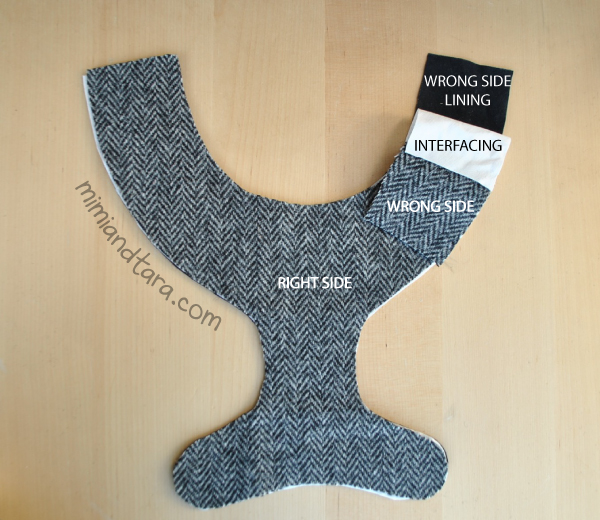
Sew by the seam allowance to attach the three layers together:

SEWING THE BINDING:
For the binding I used 1/2″-wide double fold bias tape. Insert the raw edge of the fabrics between the folded edges of the bias tape (with the narrower side to the outside and the wider side to the inside). Pin the tape in place and then over stitch once to hold both sides down.
Note that one side of the double fold bias tape is slightly narrower than the other side (from the fold to the outside edge)
So the narrower side always goes on the right side of the fabric (outer fabric). And the wider side goes on the inner fabric (the lining).
This makes possible to topstitch close to the edge on the narrow side and at the same time catch the wider side underneath.
Note: I prefer this method rather than opening the tape up, stitching one side to the raw edge of the fabric and then turning it to the back and stitching again because leaves a beautiful finish on both sides of the garment and is much faster than the other method.
Try on the harness to check that the neckband length is ok for your dog
and sew the top ends together as you can see in the image below:
SEWING THE WEBBING:
The total length of the webbing should be twice the dog’s chest girth
length.
The webbing for the back should be four times the neckband width.
The rest of the webbing goes for the chest straps: 1/3 for the short strap
and 2/3 for the long strap.
Before you cut any polypropylene webbing, know that you will need to
burn the ends to keep them from unraveling so have a lighter handy.
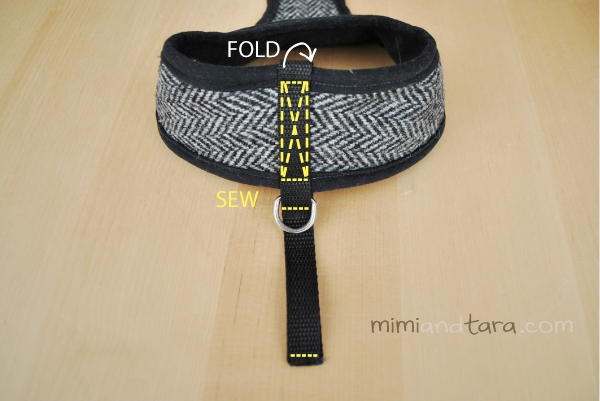
BACK WEBBING:
Cut a piece of webbing for the back. The length should be approx. four times the neckband width.
Fold this webbing around the neckband covering the back seam, ahead and behind. Thread the outer end of the webbing through the D-ring. Place the D-ring in the middle of the back and sew the two webbing ends together. Sew as indicated in the image below in yellow: topstitch making an x-box and also sew just below the D-ring to hold it.
CHEST WEBBING:
Cut two pieces of webbing for the chest girth. One short and one long…
…MORE DETAILED INSTRUCTIONS ABOUT HOW TO PLACE THE CHEST WEBBING IN THE PDF TUTORIAL…
NOTE: Be sure that the strap, adjuster, and buckle are all right sides up.
Place each webbing end over the end of each chest strap and topstitch an X-box over the webbing to secure.
Pass the male end of the buckle trough the back webbing strap like image below:
Adjust the chest strap length by moving the slide buckle.
And you are done!!
PURCHASE THIS PREMIUM PATTERN BELOW:
If you prefer, buy this pattern from my Etsy shop. ![]()
Important: please read this before printing the patterns:
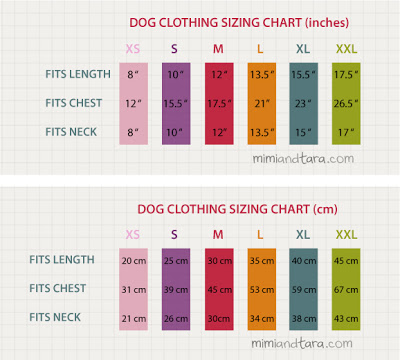
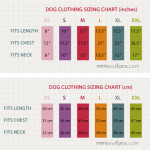
How to measure your dog for clothing
Dog clothing sizing chart
Tips for printing patterns


Comments are closed.